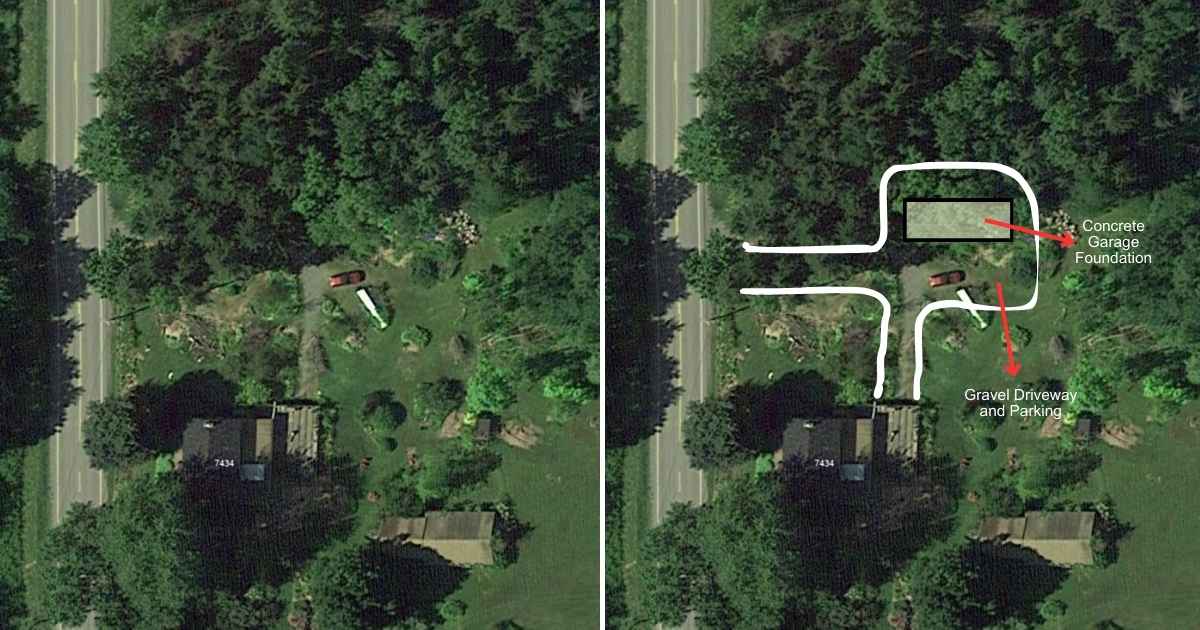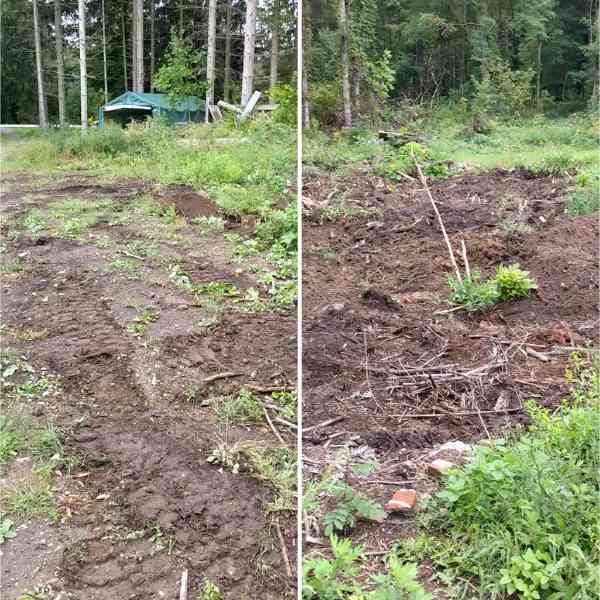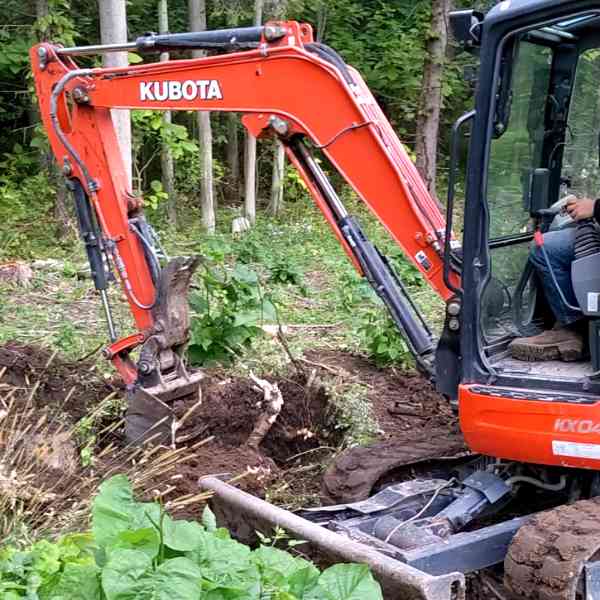
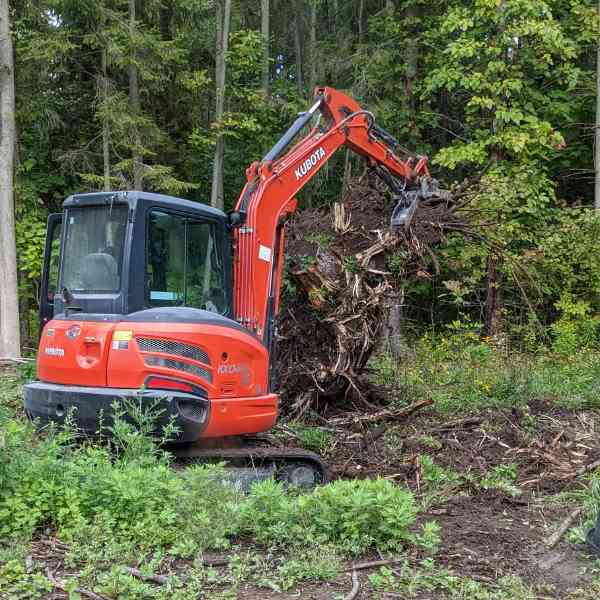
For this project, we cleared the entire area where the concrete garage foundation will be located. This included removing all the trees, stumps, and undergrowth, making sure the site is ready for excavation and foundation work.
Check out our ultimate guide in land clearing to learn more.
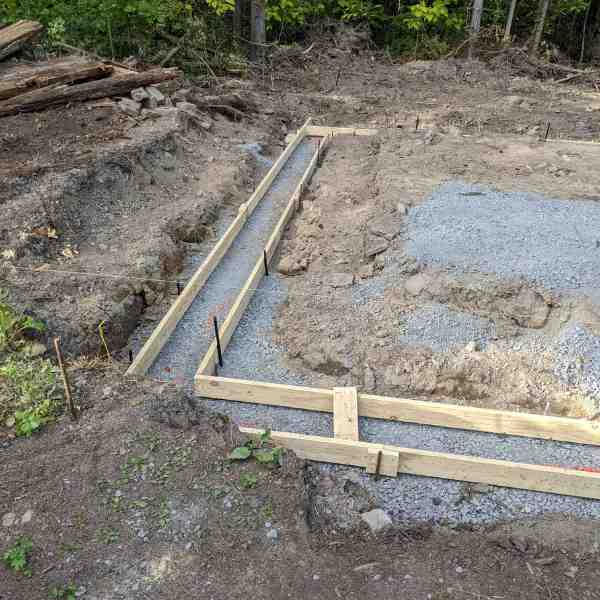
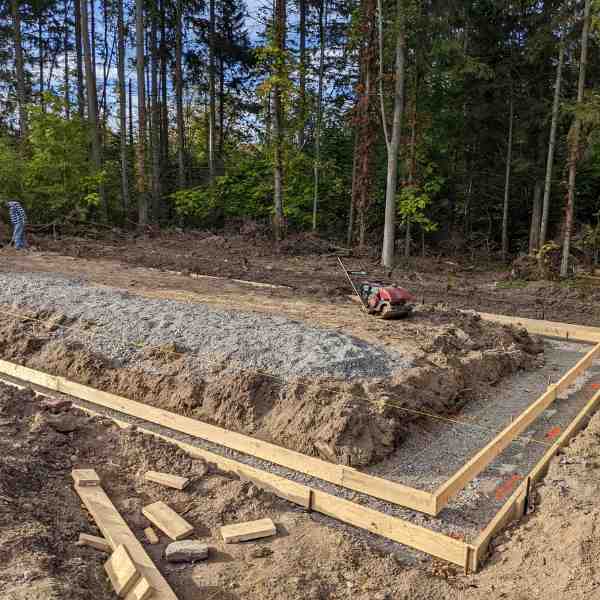
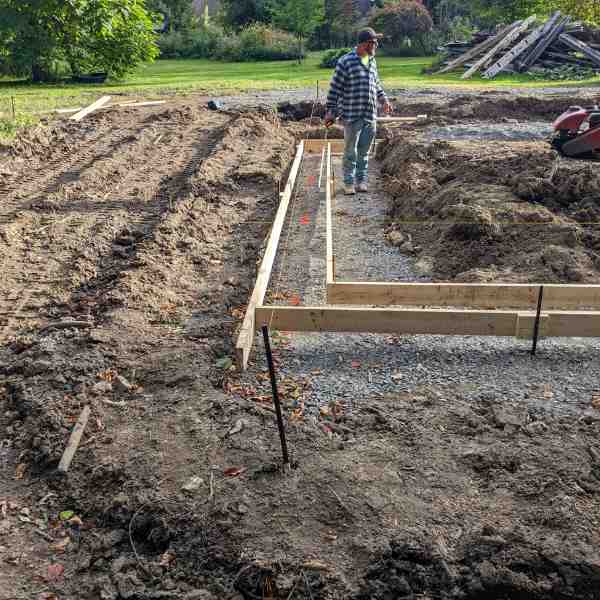
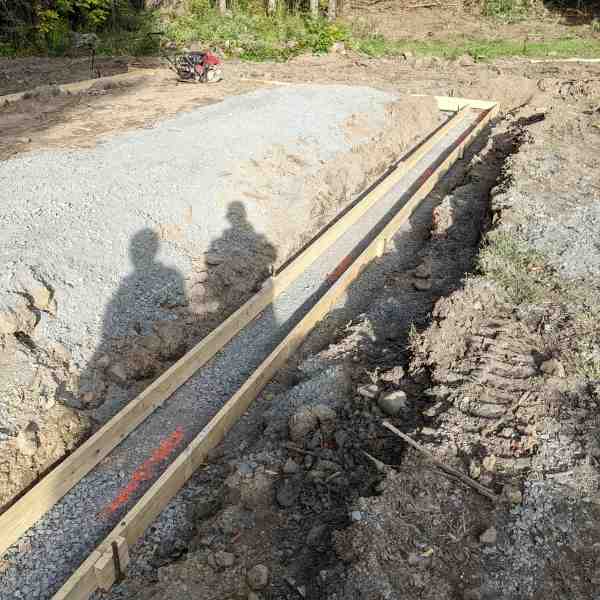
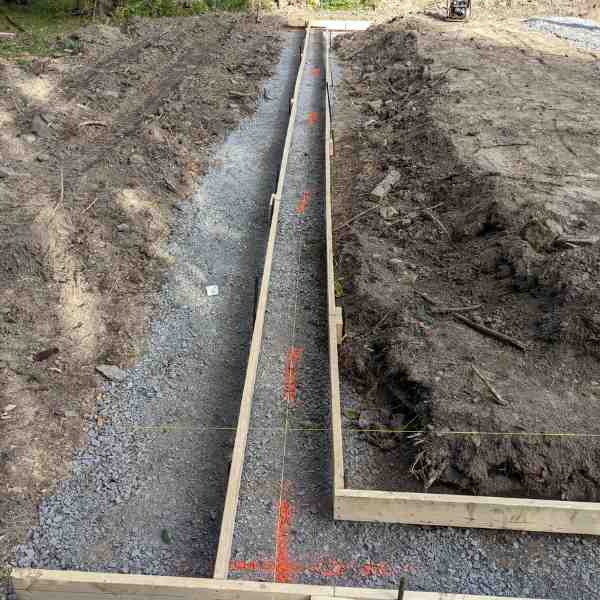
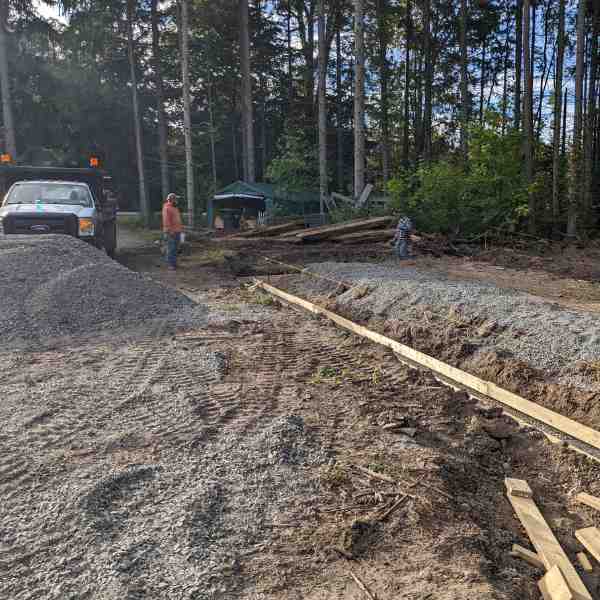
Once the land was cleared, we used our excavator to dig the trenches for the concrete footers. Next, we installed footer formworks and laid a gravel bedding.
Before pouring the concrete, we placed vertical rebars into the footers to provide strong support for the concrete hollow blocks that will be built later.
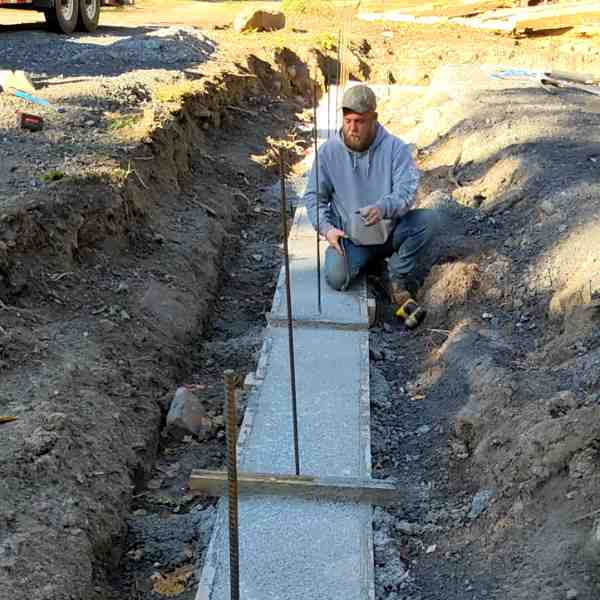
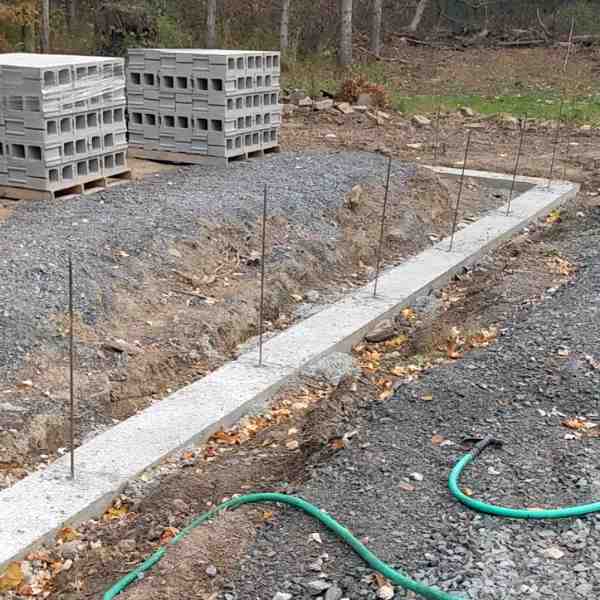
We now poured the concrete for the footers, ensuring it was evenly distributed and properly compacted to eliminate any air pockets. The concrete was left to cure over the required period to achieve full strength.
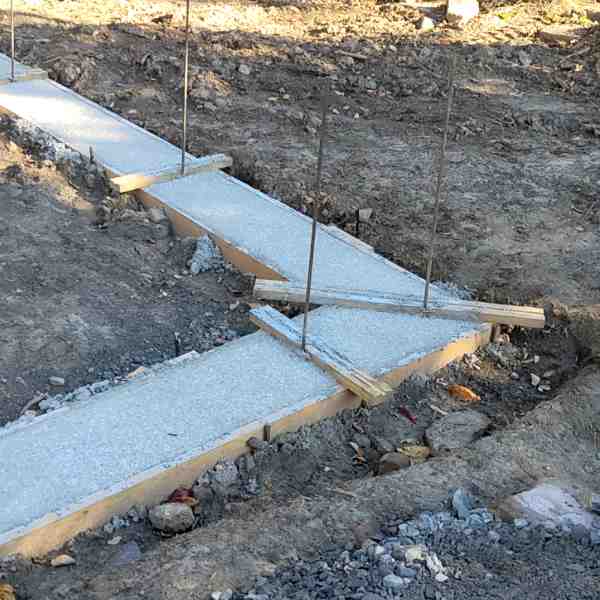
After the concrete fully cured, we removed the formwork, leaving behind clean concrete footers that are ready to support the foundation walls. With the footers now complete, the next step will be to begin laying the concrete hollow blocks for the foundation.
Foundation Wall
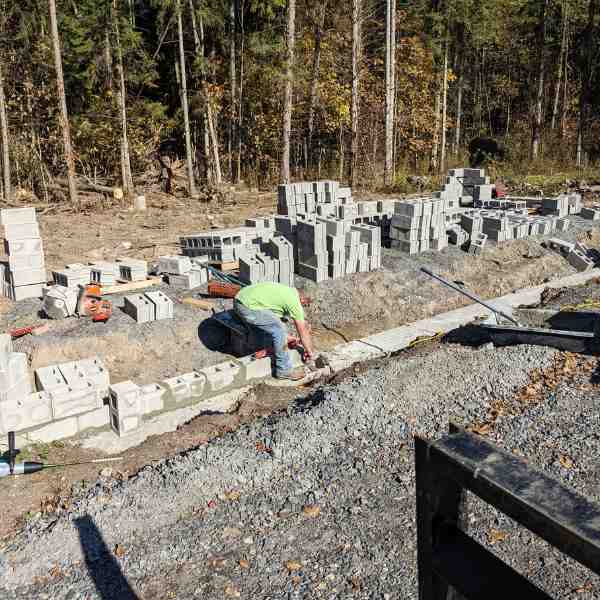
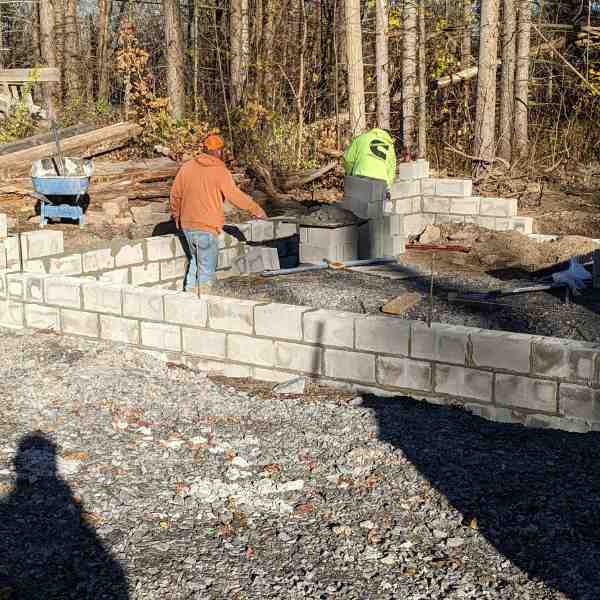
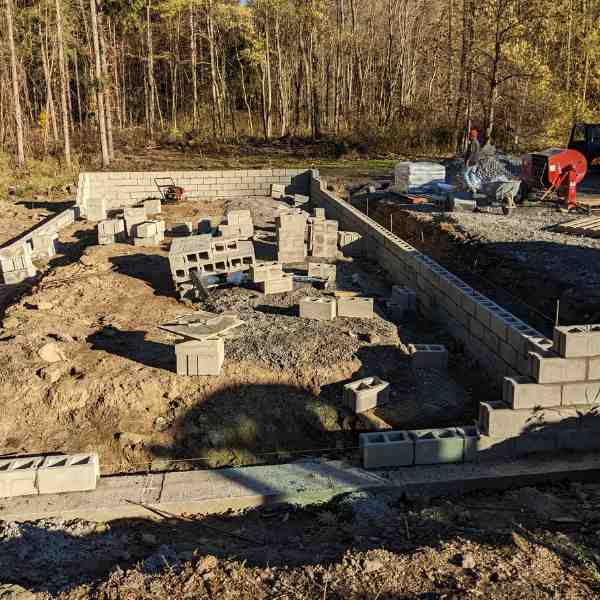
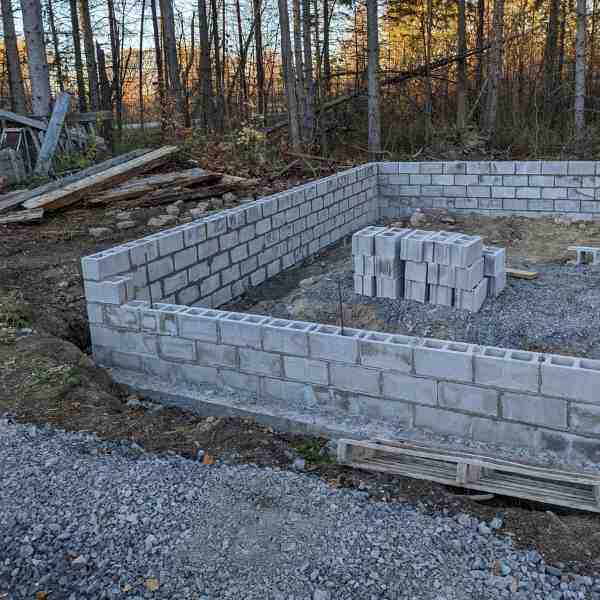
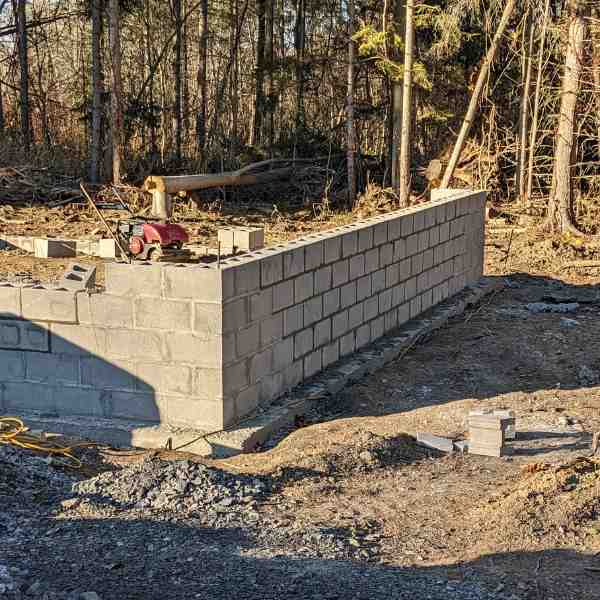
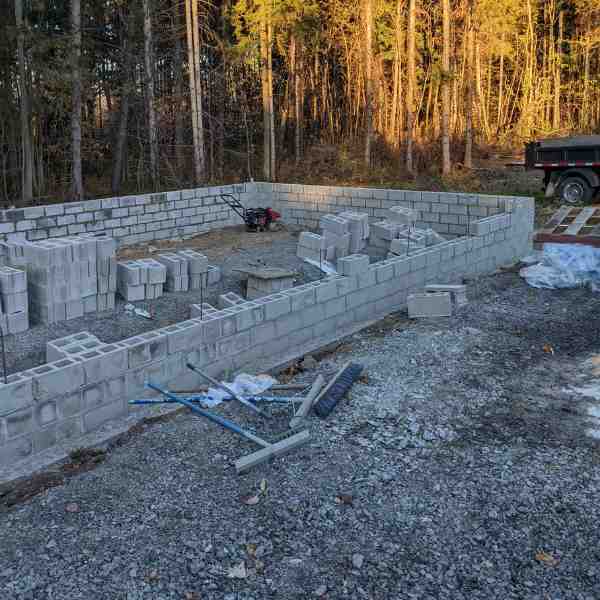
We began laying the concrete hollow blocks for the foundation walls. The first step was to carefully align the blocks along the perimeter of the footers, ensuring a straight and level base using masonry lines and a level for precise measurements.
Each concrete hollow block was laid with mortar to bond the blocks securely, and vertical reinforcement bars, previously embedded in the footers, were threaded through the hollow spaces of the blocks.
Concreting of Foundation Floor
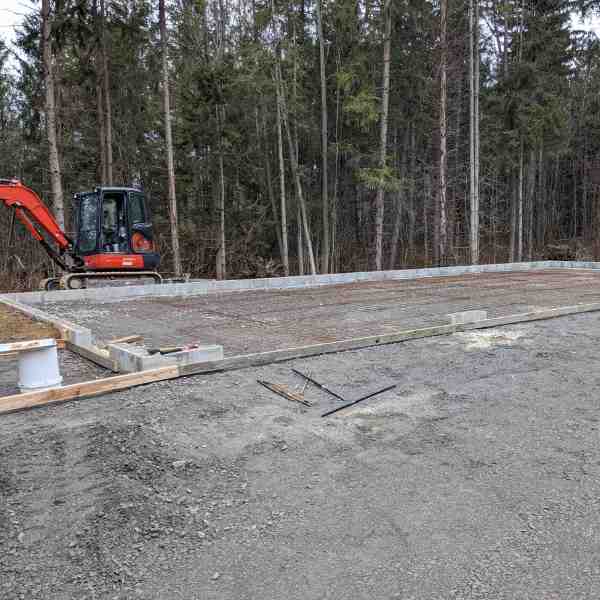
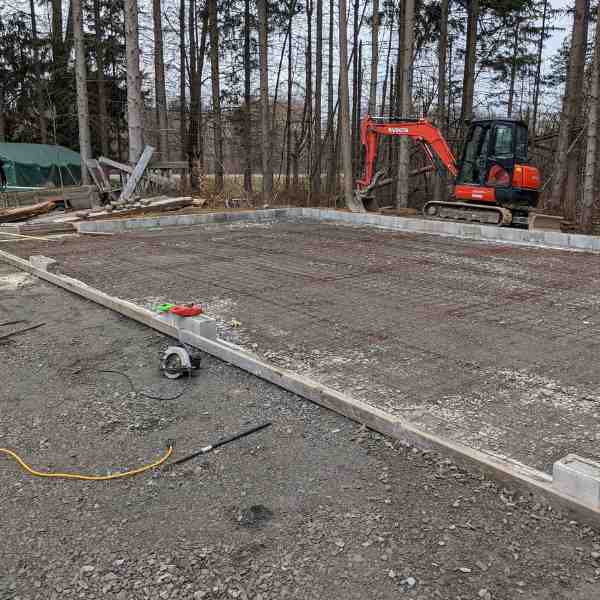
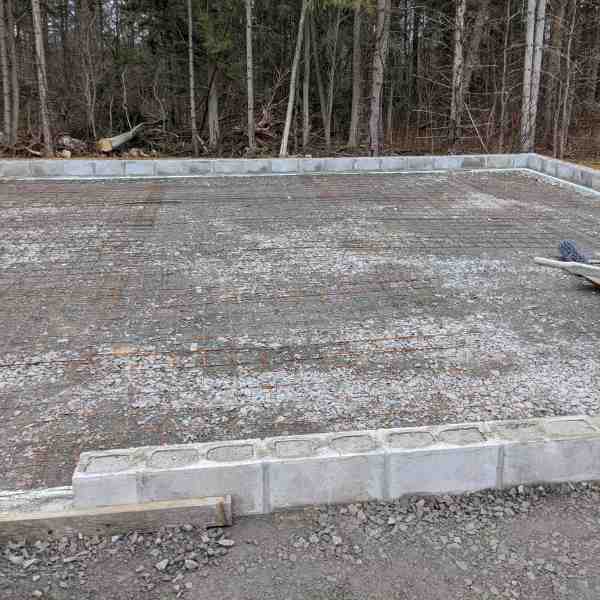
Once the CHB foundation walls were set, we started the backfilling process inside the foundation. We filled the space with clean fill material, packing it down layer by layer with a vibratory plate compactor to make sure it’s solid and won’t shift over time.
Next, we laid down a layer of crushed stone to act as a base for the garage floor. After that, we installed a rebar grid to reinforce the concrete slab.
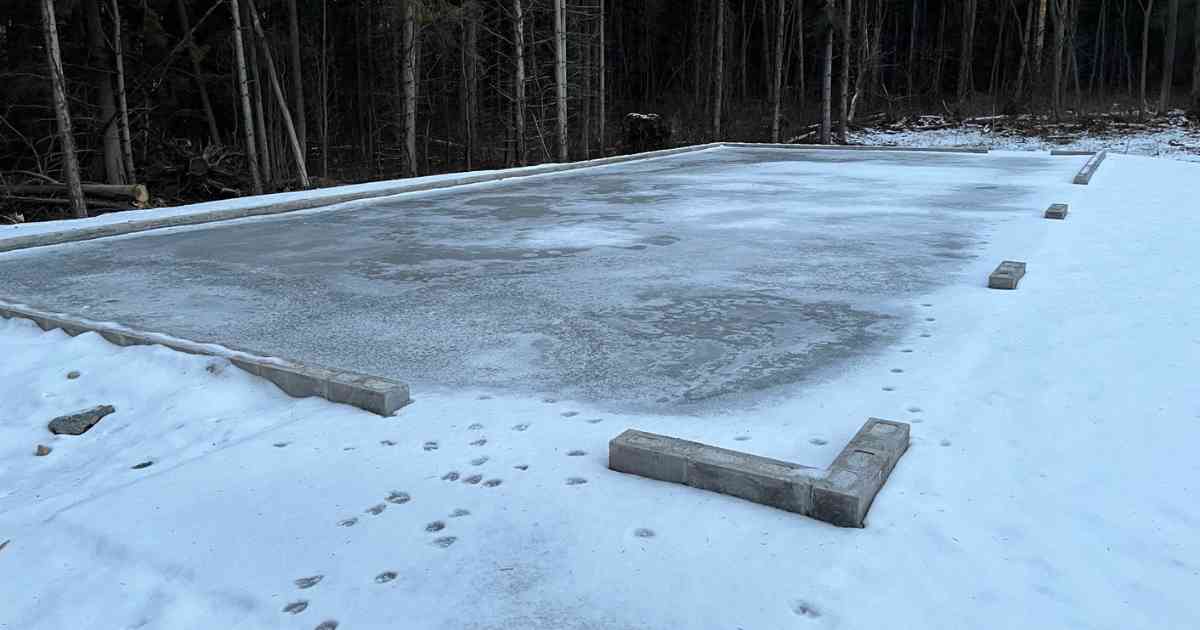
With everything in place and compacted, the foundation was ready for the final step—pouring the concrete for the garage floor.
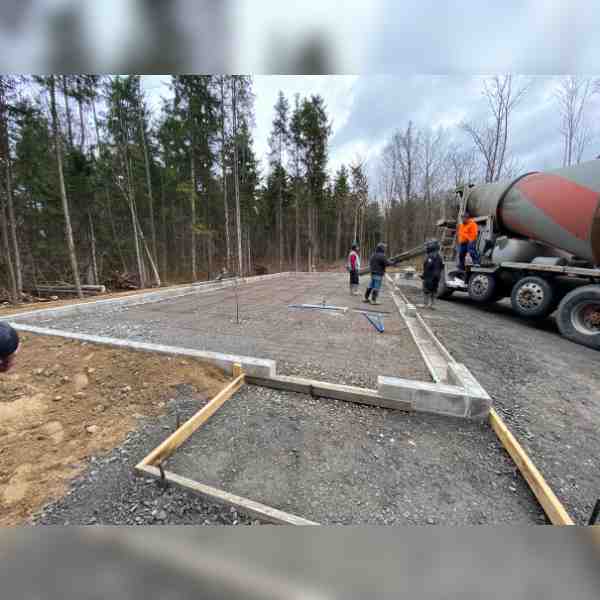
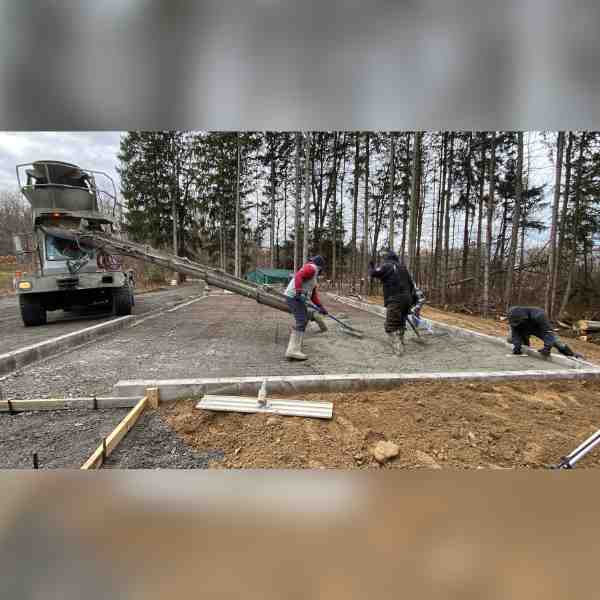
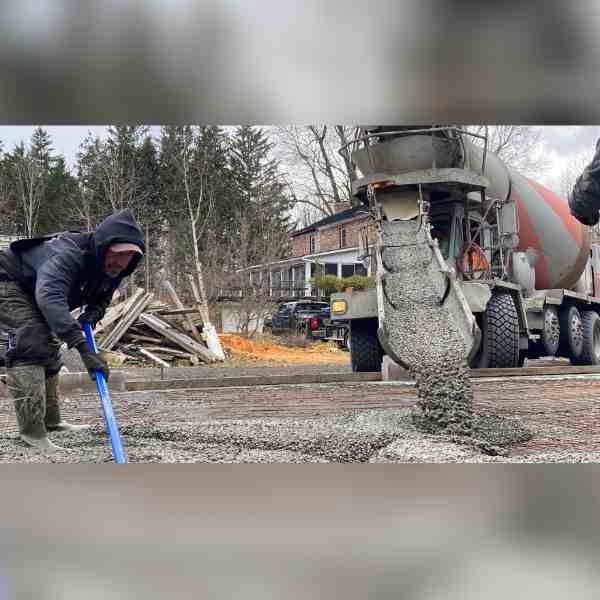
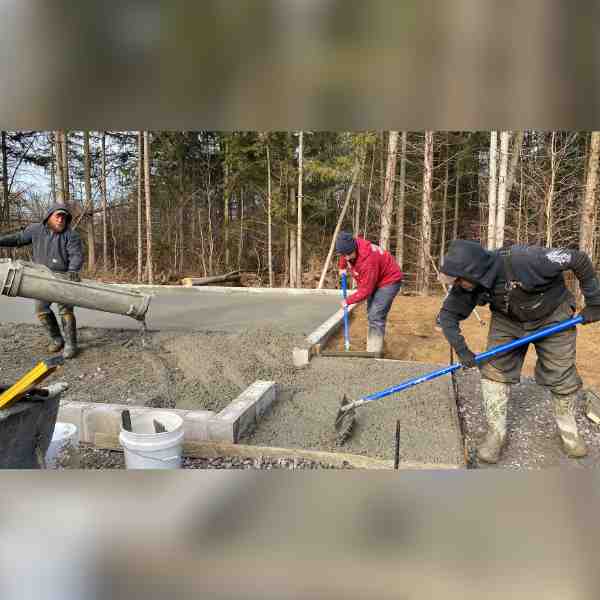
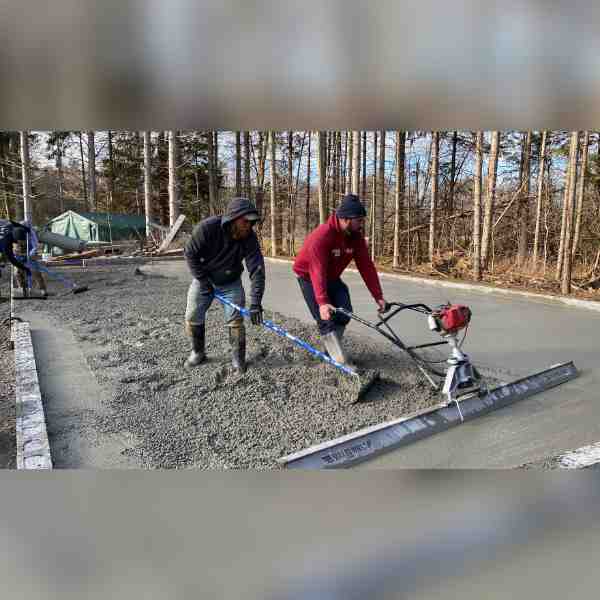

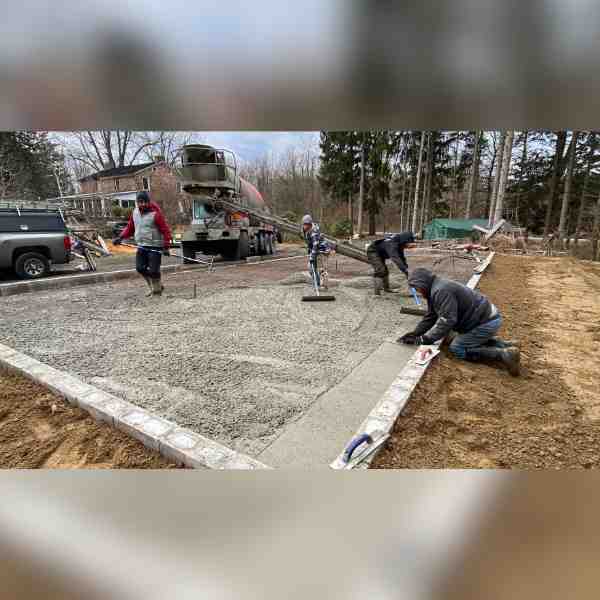
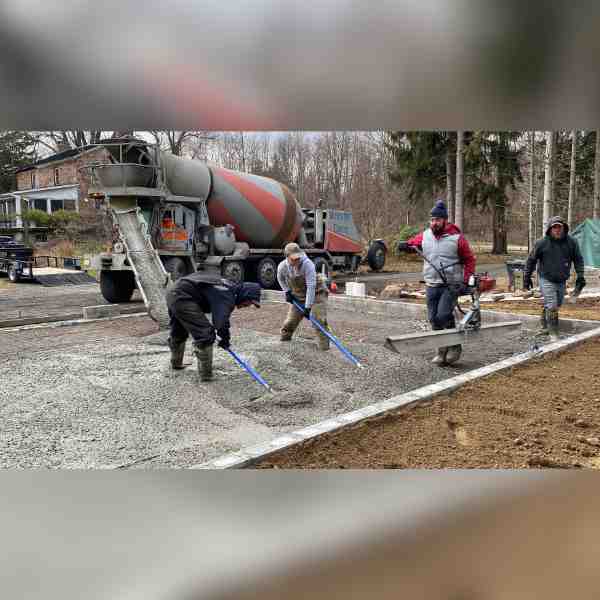
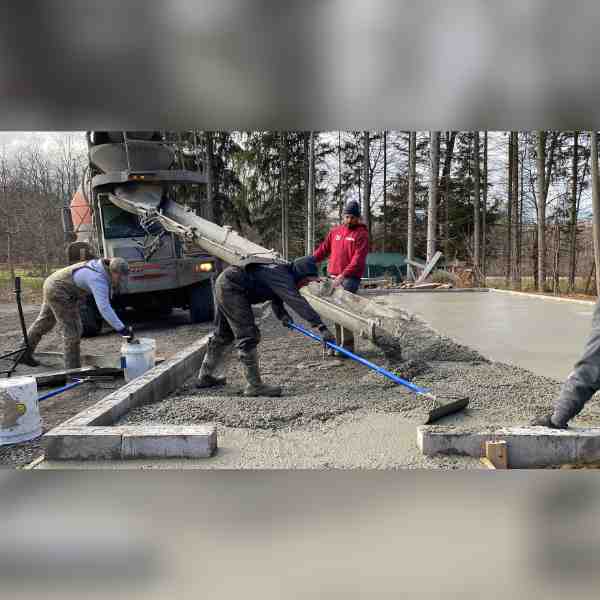
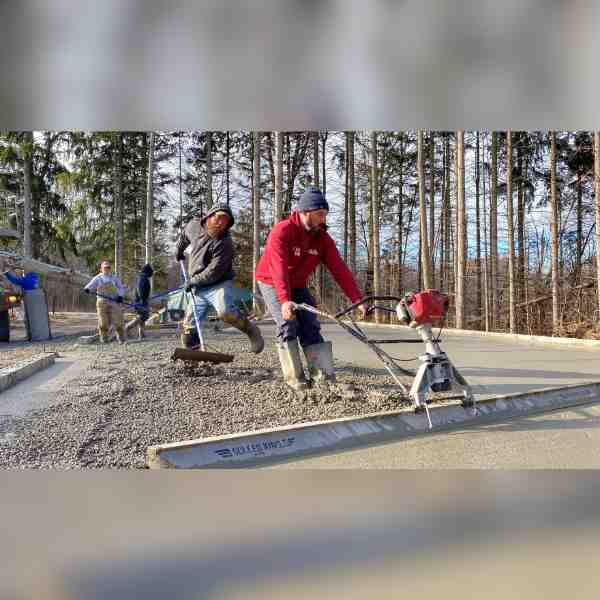
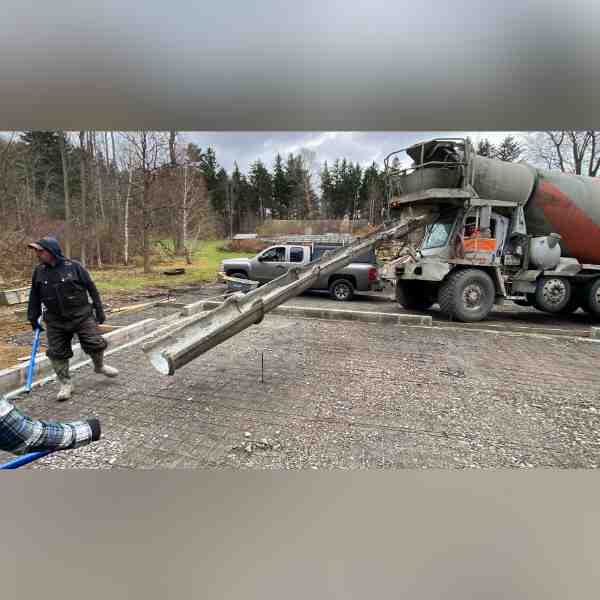
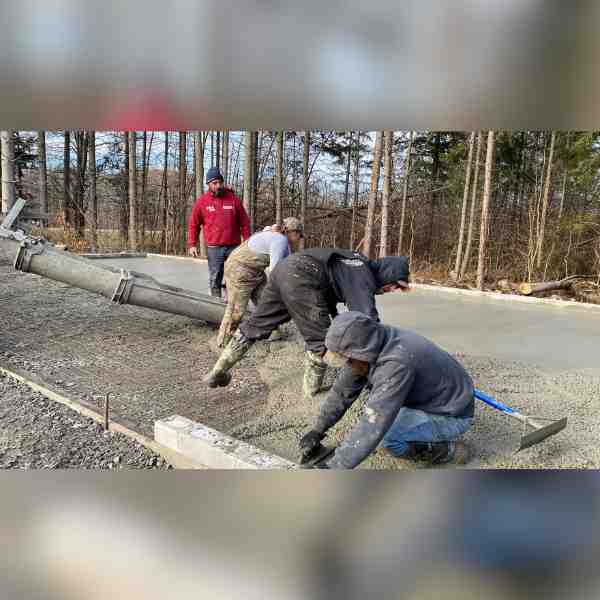
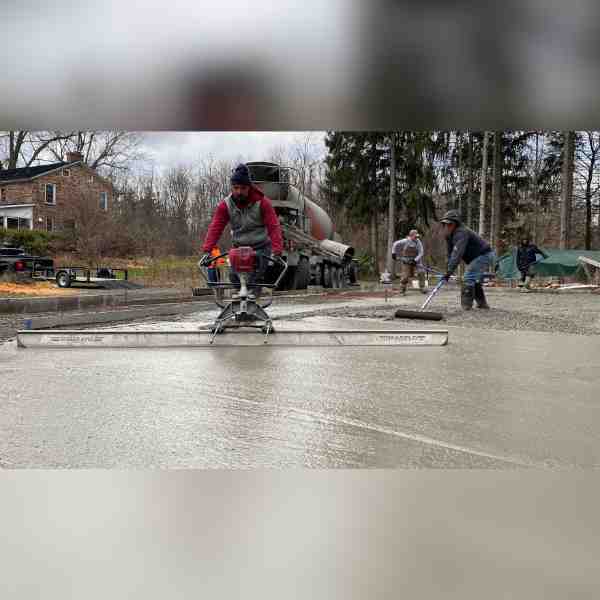

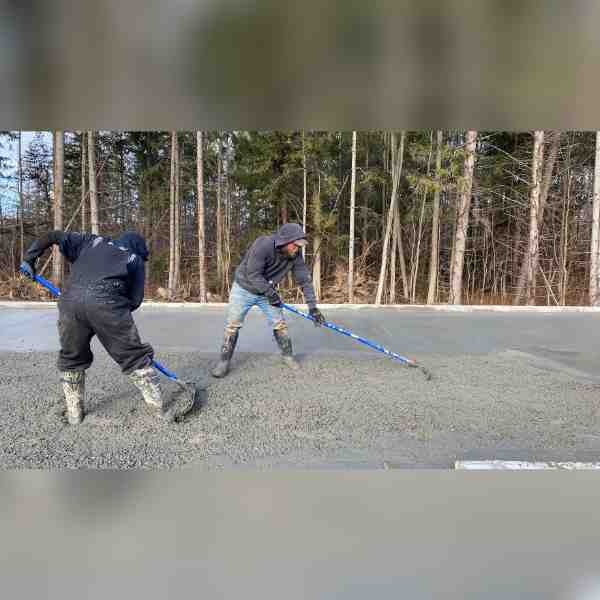
Once the rebar grid was in place, we poured the concrete evenly across the foundation, ensuring it spread smoothly and filled all areas.We ordered ready-mix concrete to ensure consistent quality and proper strength for the slab.
During the pour, we used concrete rakes and a vibrator to eliminate any air pockets and achieve a solid, uniform slab. After pouring, the surface was leveled and finished to create a smooth concrete floor that will stand up to wear and tear for years to come
Gravel Driveway Installation (Part 1)

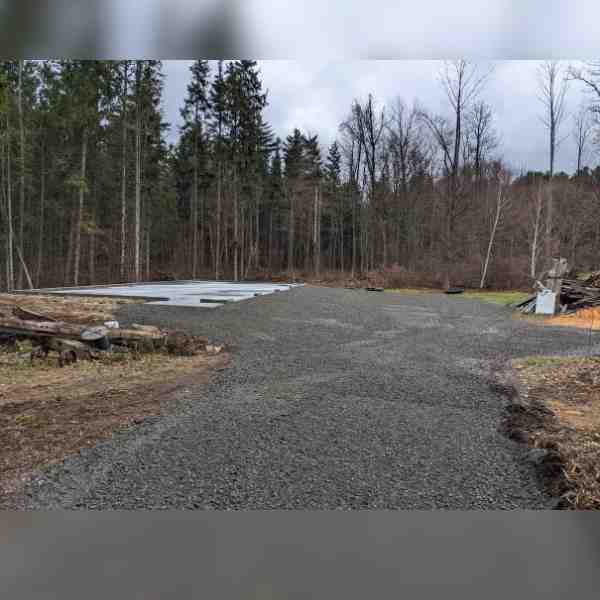
After the foundation and garage floor were completed, we shifted focus to the gravel driveway and parking area. The existing driveway had thinned over time, so we started by regrading the surface to ensure proper drainage and a smooth, even base for the new gravel layer.
We then brought in a fresh load of #2 crusher run stone to rebuild the driveway. Using our skid steer SR3 attachment and compactor, we evenly spread and packed the gravel to create a firm, durable surface that can handle heavy traffic. We chose #2 stone for this driveway because it will support heavy equipment and materials needed by the garage structure contractor.
We also adapt this method to one of our gravel driveway installation projects by initially using #2 crusher run stones as the base layer for the gravel driveway, as it can support heavy traffic from utility companies working back and forth. Once they completed their tasks, we refreshed the driveway for a smooth finish.
With the driveway refreshed and the parking area properly leveled, the project is complete and ready for the installation of the garage structure.
Garage Structure Installation
The garage structure was installed during the winter months. The client took these photos and shared them with us to show the progress.
Please note that the pre-fab garage structure supply and installation were handled by the client’s contractor, not us as we are only doing the sitework services. We’ve included these photos to give you a clear view of the process and to provide a helpful reference if you’re considering a similar project in the future.
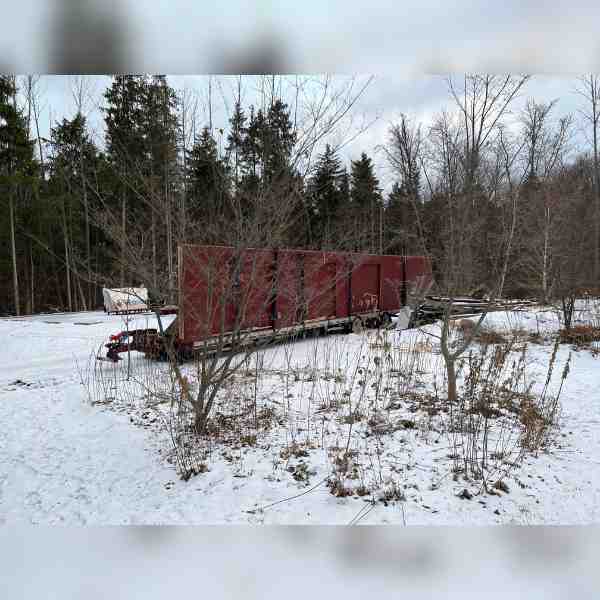
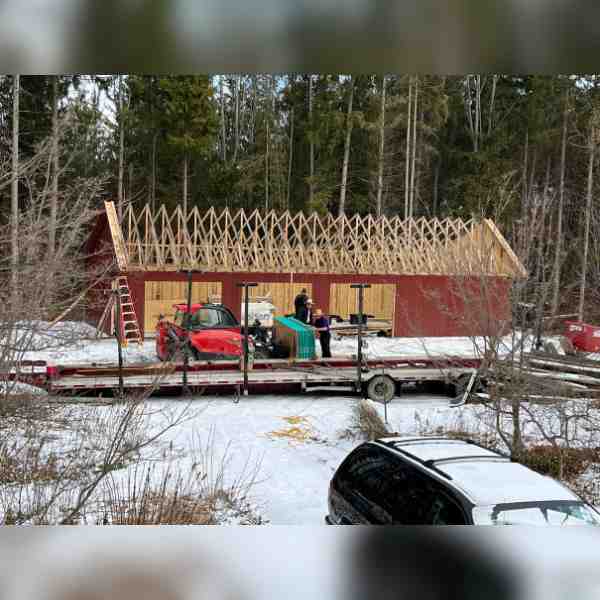
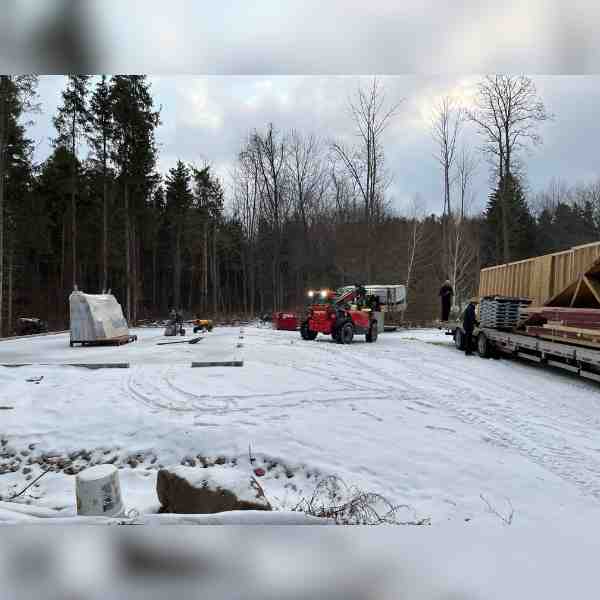
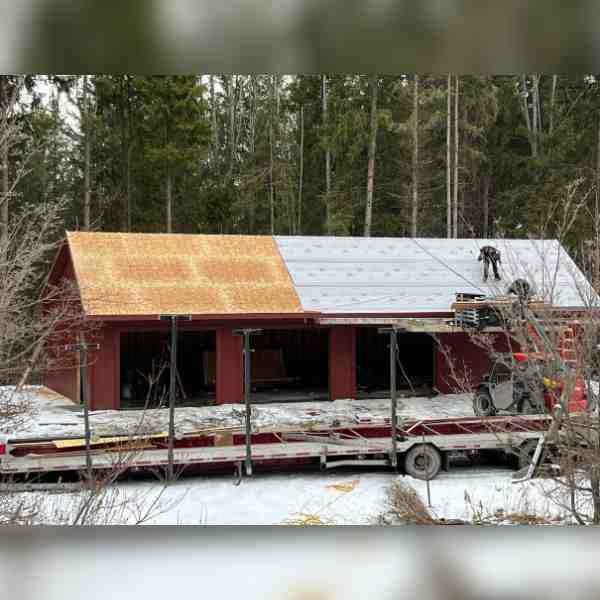
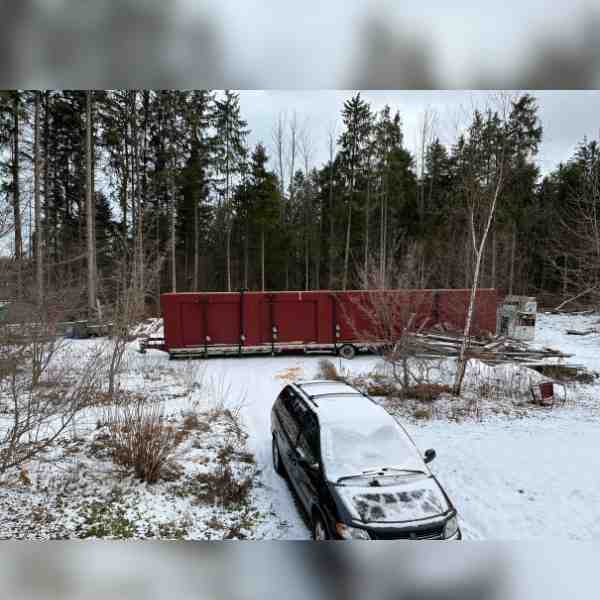
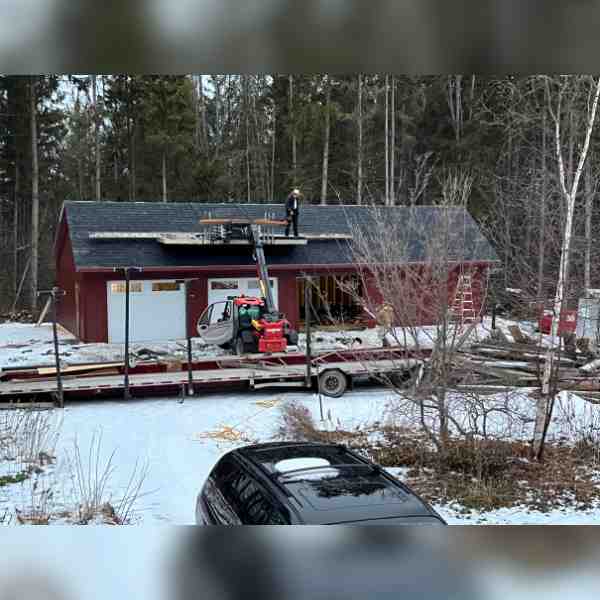

It’s always exciting to see a project come to life. Tthere’s something special about watching an idea you’ve been thinking about for so long finally take shape in front of you.
In this case, the land clearing and concrete garage foundation we built were the key steps that made the garage project possible. Seeing the finished structure is a rewarding reminder of how the groundwork we laid helped bring the client’s vision to reality.
Topsoil Installation Around the Garage
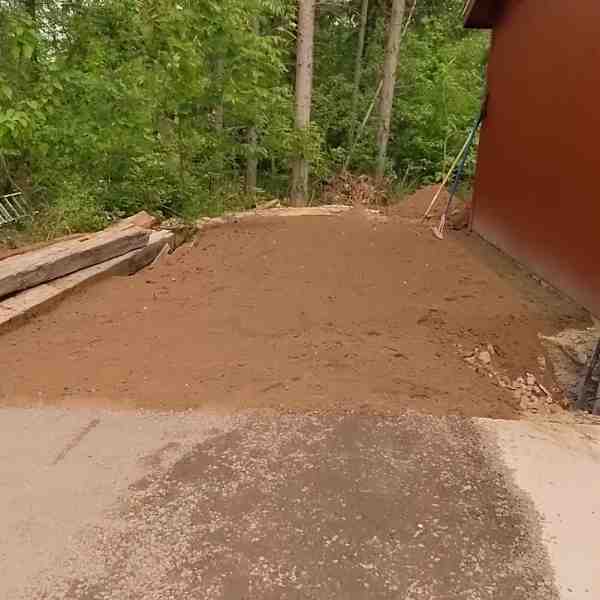
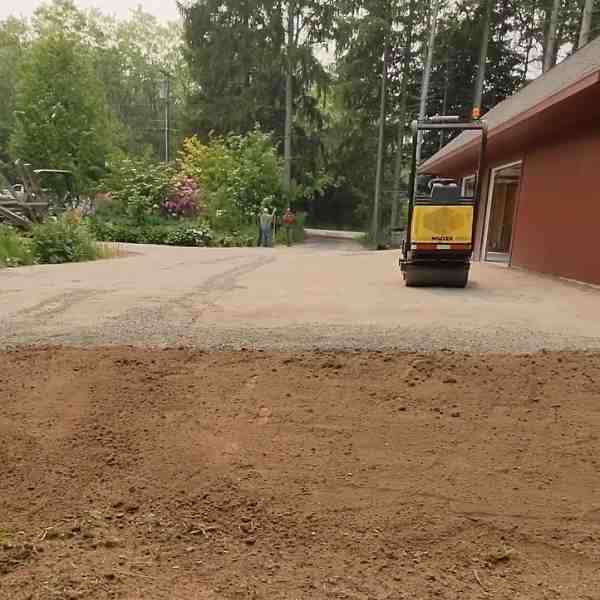
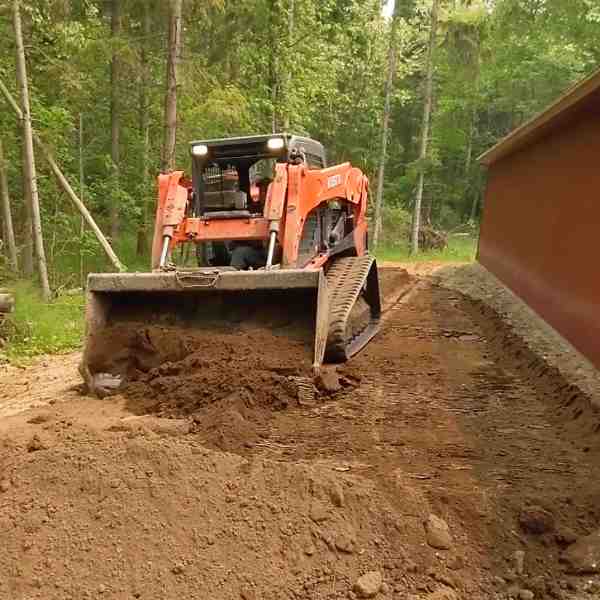
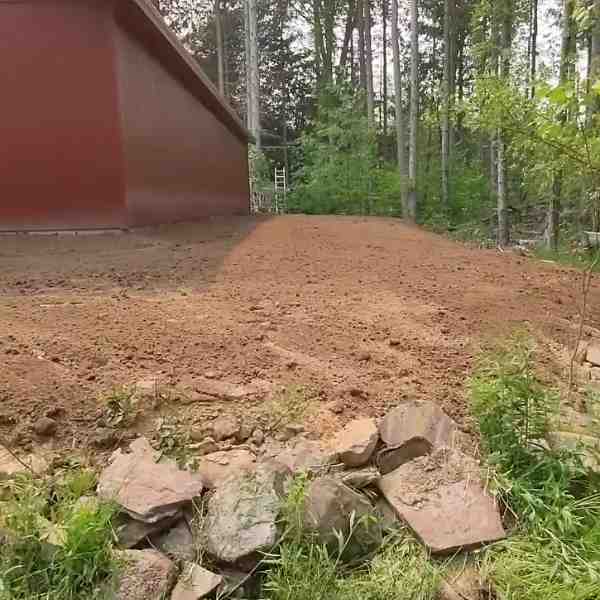
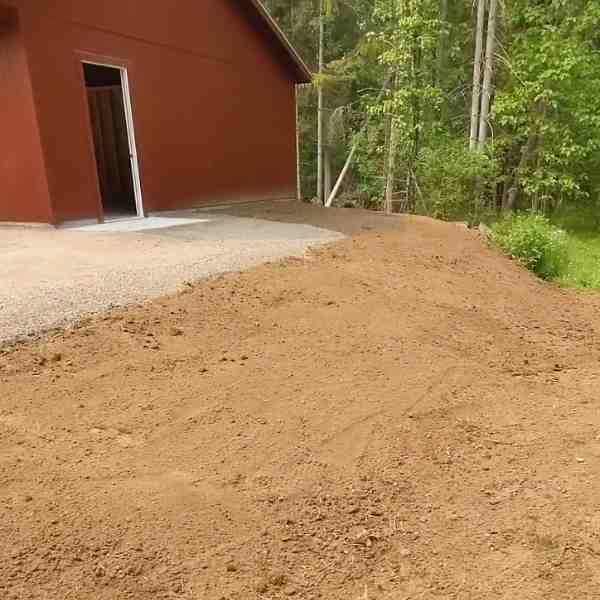
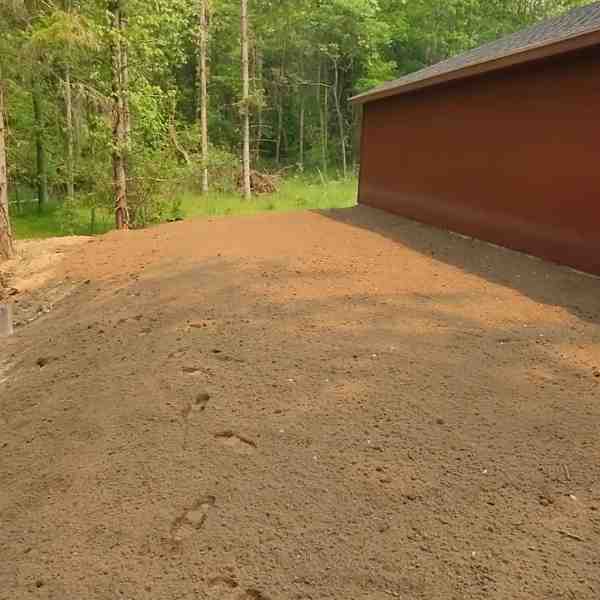
After the installation of the garage structure, we returned to complete the sitework project by spreading topsoil around the garage, grading it to direct water away from the foundation. This layer of topsoil not only smooths out the area but also helps prevent erosion and gives a solid base for any future landscaping the client may add. It’s a simple, effective way to complete the project and leave the site clean and ready.
Read relevant blog – How Much Topsoi Do I Need for a Healthy Landscape Project
Gravel Driveway Installation (Part 2)
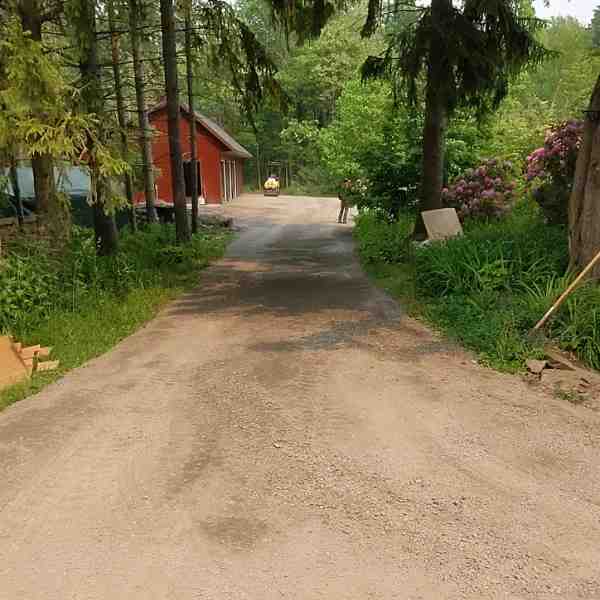
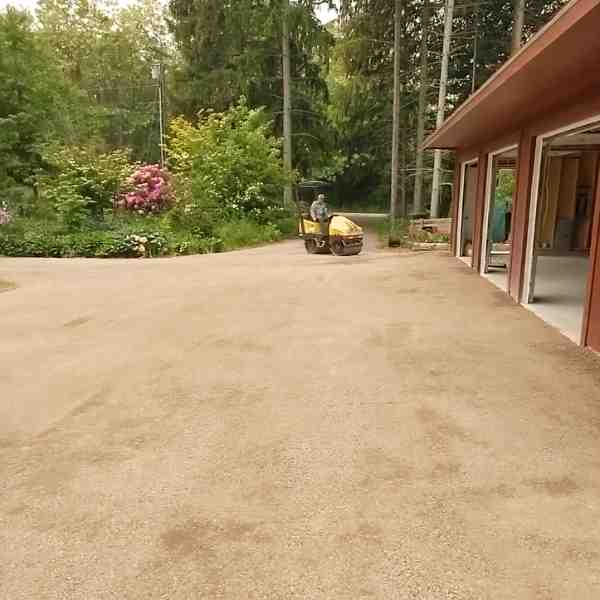

We then added a final load of 5/8″ crusher run gravel as the top layer for the driveway. This final layer not only gives the driveway a smooth, finished look but also adds durability and stability, creating a surface ready to handle regular use.
You can also check here the transformation of the gravel driveway refresher we did to one our project as mentioned earlier
Wrapping up the project with this top layer was the perfect way to bring everything together and leave the client with a fully completed, reliable driveway that complements the new garage.
Epoxy Floor Installation
The client reached out to us again to install epoxy on the garage floor. Although this type of finish work is not our usual focus since we primarily specialize in sitework and landscaping services, our experience and expertise, especially through Daniel Colella’s leadership, made us more than ready to take on this task.
This next step will enhance the durability and level up the appearance of the concrete floor, ensuring it stands up to daily use while adding a sleek finish.
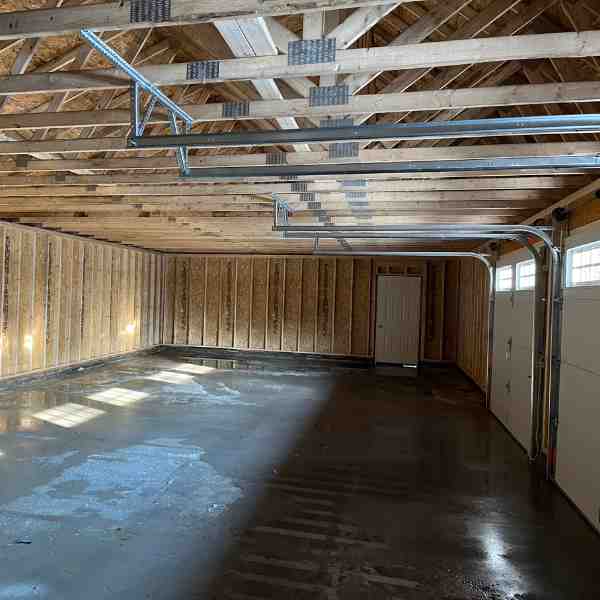
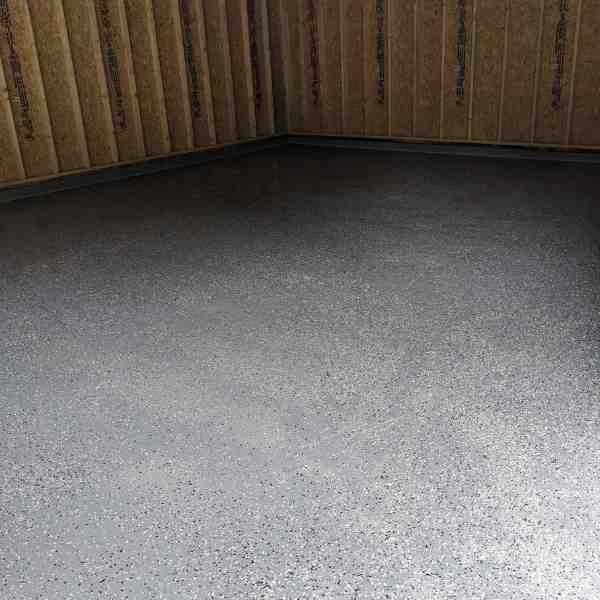
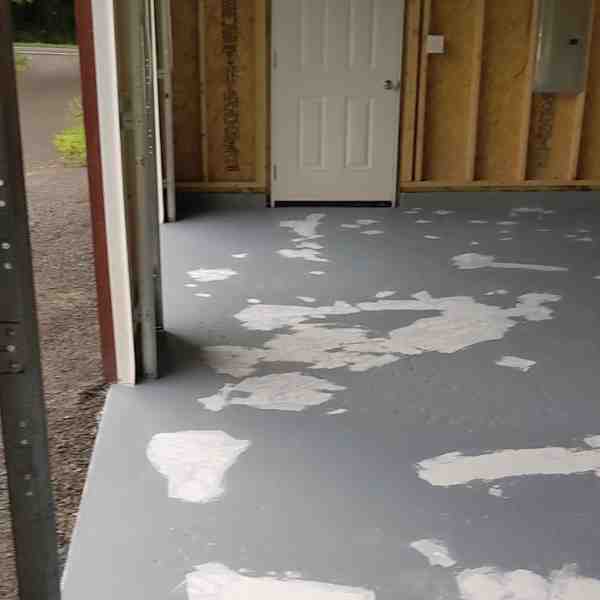
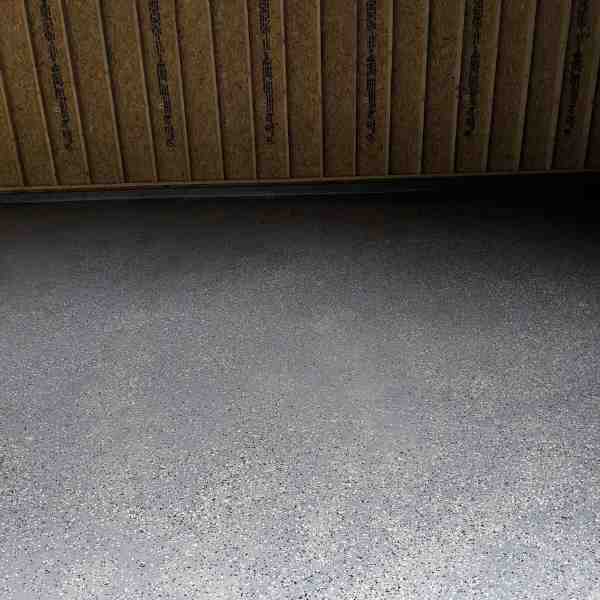
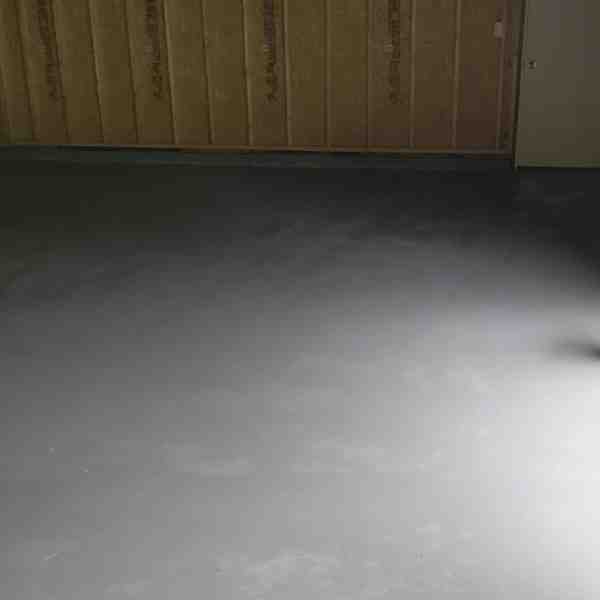
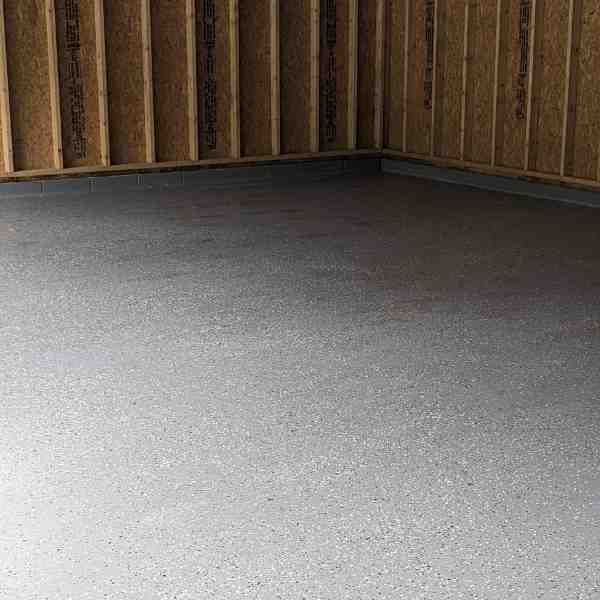
To prepare the garage floor for a smooth, durable epoxy finish, we started by grinding down the concrete surface to remove imperfections, followed by an acid wash and a thorough pressure wash to ensure the floor was completely clean.
We then applied a floor leveler to fill any low spots, followed by a top coat to create a smooth base layer. Any holes or cracks in the floor were filled with epoxy filler and sanded once dry to ensure a uniform surface. Next, we applied multiple thin coats of epoxy, allowing each layer to dry and cure for maximum durability.
After the base coats, we added decorative chips to give the floor a textured, appealing look, then sealed everything with a final epoxy topcoat. This comprehensive process gave the garage floor a strong, polished finish that will hold up beautifully for years.


